
 US
 Australia
 United Kingdom
 Europe
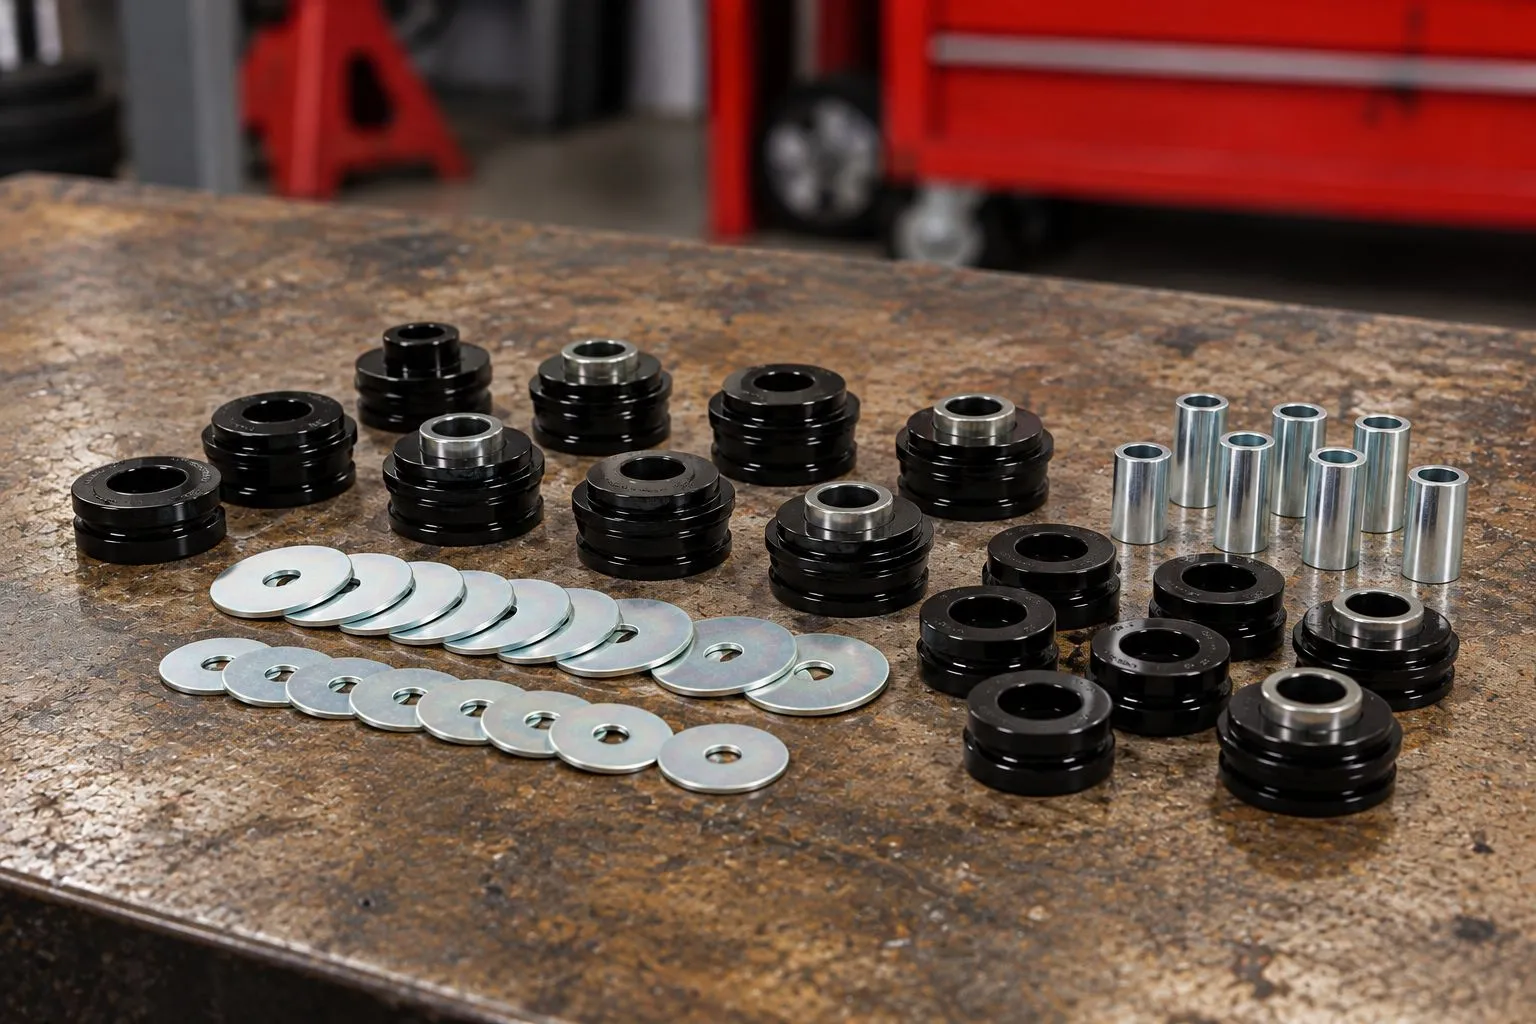

To replace body mount bushings, soak every bolt in penetrating oil, loosen all the mounts on one side, lift that side of the body slightly with a jack, swap the upper and lower bushings, then lower the body and repeat on the other side. Torque each bolt to factory specification once every new bushing is seated.
Learning how to replace body mount bushings yourself can save hundreds in labor, and the job is mostly patience rather than special tools. Whether you call it body mount bushing replacement or simply want to know how to replace body mounts, the biggest obstacles are usually rusted bolts and tight access rather than the bushings themselves. Below is the process we recommend for fitting our polyurethane body mount bushings on pickups, body-on-frame SUVs and 4x4s.
Tools and Parts You Need Before You Start
|
Tool or part |
What it is for |
|
Matched body mount bushing set |
New upper and lower bushings for every position on your cab and bed |
|
Penetrating oil |
Freeing rusted body mount bolts days before the job |
|
Floor jack and a wood block |
Lifting the body gently without denting the floor pan or rocker |
|
Jack stands |
Supporting the truck safely on the frame |
|
Breaker bar and long extensions |
Breaking seized bolts loose and reaching awkward positions |
|
Torque wrench |
Tightening each bolt to the factory body mount torque spec |
|
Pry bar |
Easing bushings out of the frame bracket |
|
Wire brush and rust protection |
Cleaning brackets and protecting them before the new bushings go in |
Check the bushing set against your cab style before you start, since the number of cab mounts and the size of each cab mount vary between configurations. Our kits are matched to standard cab, extended cab, crew cab, extra cab, hardtop and two door bodies, and to RWD or 4WD variants where the mount layout changes.
Step 1: Prepare the Truck and Free the Bolts
Spray every body mount bolt with penetrating oil for two or three days before the job. Rusted body mount bolts are the most common reason this job runs long, and patience at this stage pays off. Park on level ground, chock the wheels and disconnect the battery if any wiring runs close to the mounts.
Look for anything that ties the body to the frame and would stretch when the body lifts. Common items include the steering shaft coupling, fuel filler hoses, radiator hoses at the core support, the shifter linkage and wiring harness clips. Loosen or disconnect anything that will not tolerate an inch or two of movement.
Step 2: Loosen and Remove the Bolts on One Side
Work on one side of the truck at a time so the body stays located on the other side. Crack every bolt on that side loose with a breaker bar, using steady pressure rather than sharp hits. When a bolt starts to bind, work it back and forth with more penetrating oil rather than forcing it.
If a bolt spins without coming out, the captive cage nut inside the body has probably broken free. Most trucks let you reach the cage nut through an access hole or by cutting a small window in the floor or cab corner. A replacement cage nut or retainer clip then goes in before the new bushing.
Step 3: Lift the Body and Swap the Bushings
With all the bolts on one side removed, place a wood block on your jack and lift under the body near the mounts. Raise it only an inch or two, just enough to pull the old bushings out. Never put your hands or any part of your body between the body and the frame while it is lifted.
Pull out the upper and lower bushings at each position, then clean the frame bracket with a wire brush. Treat any surface rust on the bracket before it has a chance to spread. Fit the new polyurethane bushings in the order shown in our installation guide, using the grease specified where the guide calls for it, and make sure each sleeve sits squarely in the bracket.
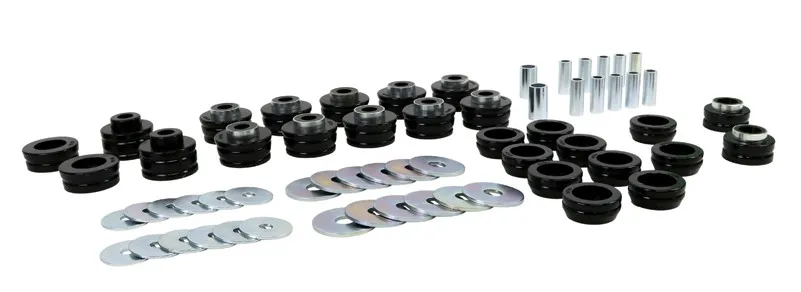
Body Mount Bushing Set
Step 4: Lower the Body and Torque the Bolts
Lower the body slowly, guiding it onto the new bushings and checking that nothing is pinched. Start every bolt by hand to avoid cross-threading the cage nuts, then snug them evenly. Move to the other side and repeat steps two and three.
With both sides done, tighten every bolt to the body mount torque spec in your factory service manual. Torque values vary widely between trucks, and overtightening crushes the bushing while undertightening lets the body move. Reconnect anything you unclipped, then road test the truck and recheck the torque after the first few hundred miles.
Common Mistakes to Avoid
Most problems come from rushing a few critical points:
- Lifting too high: Raising the body more than an inch or two can stretch brake lines, hoses and wiring.
- Replacing a few positions only: Mixing new and worn bushings leaves the body sitting unevenly and loads the new parts harder.
- Skipping the cage nut check: A spinning bolt will never reach torque, so fix the nut before reassembly.
- Guessing the torque: Always use the factory body mount torque specs for your truck.
Done right, the job transforms how solid the cab feels. If you are still deciding whether to tackle it yourself, compare the numbers in our body mount replacement cost guide, and confirm the problem with our list of bad body mount symptoms.
Body Mount Replacement FAQs
Looking for more information about body mount replacement? Below we answer the most commonly asked questions
How long does it take to replace body mount bushings?
Do you have to remove the cab to replace body mounts?
What is the torque spec for body mount bolts?
How do you remove rusted body mount bolts?
Do polyurethane body mount bushings need grease?
Can one person replace body mounts?
Ready to tighten up your truck for good? Choose a matched set of body mount bushings for your cab style, and our support team can help with fitment questions before you start.


