
 US
 Australia
 United Kingdom
 Europe
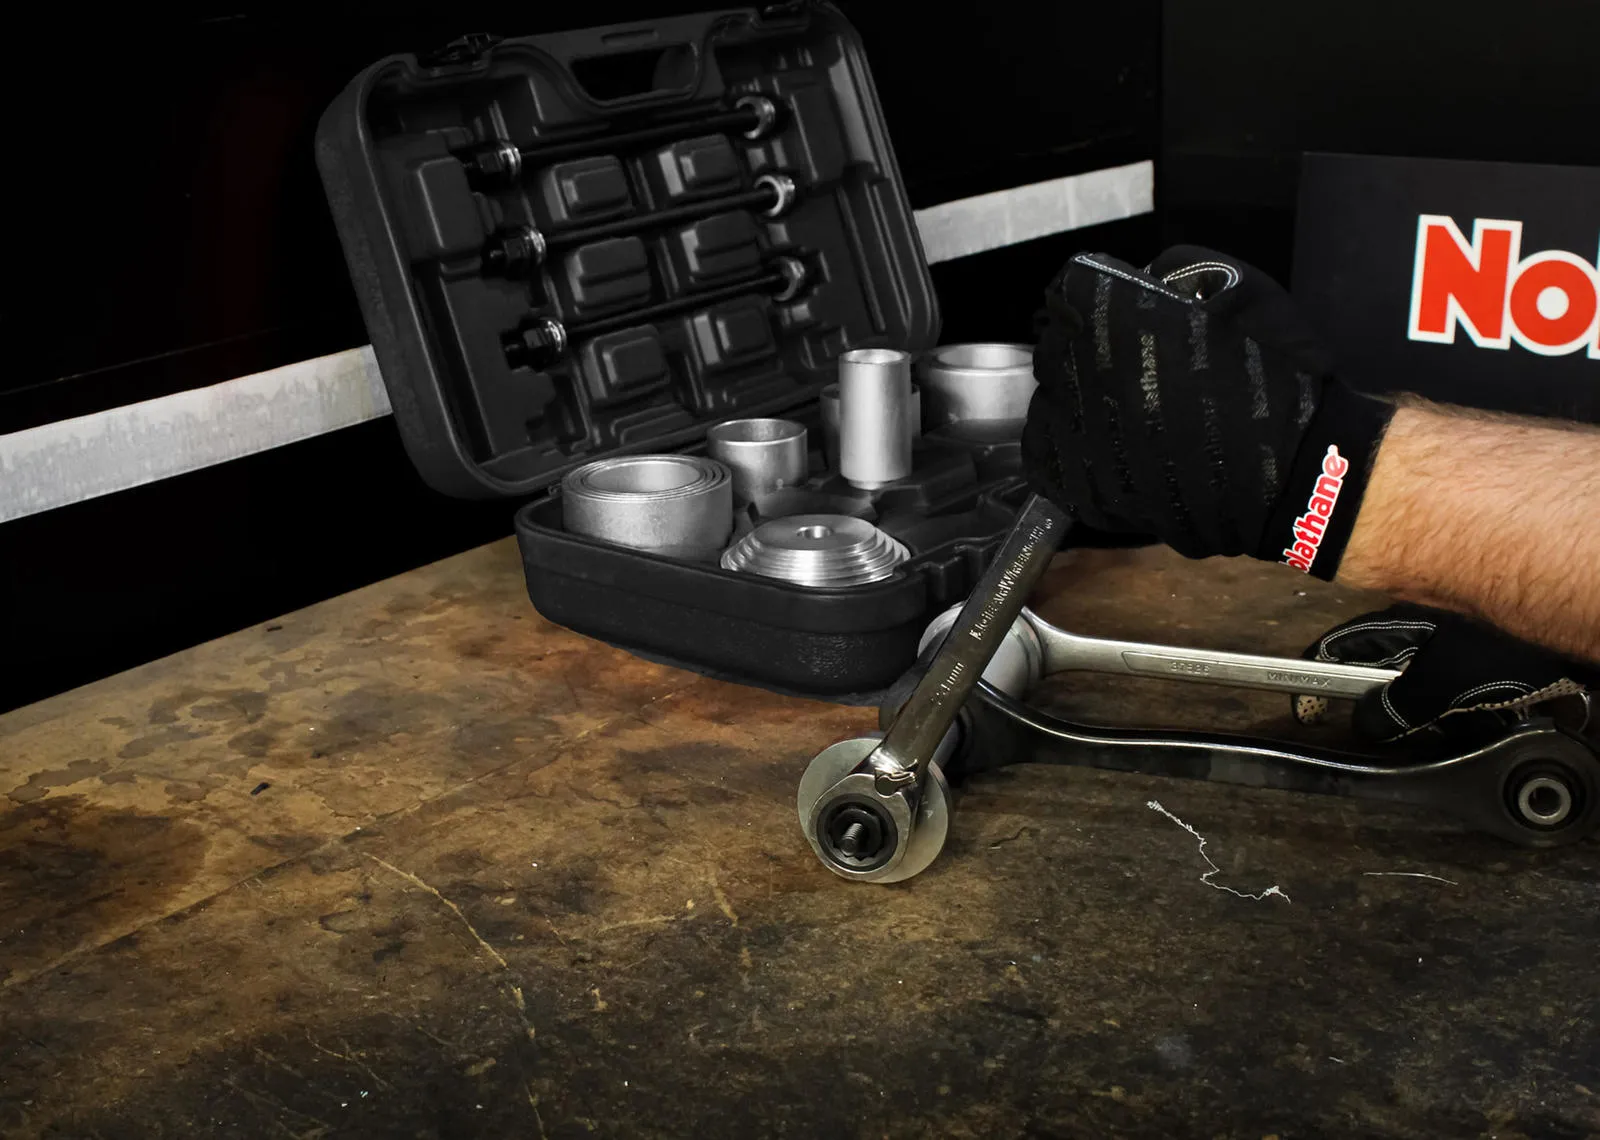

To replace control arm bushings, support the vehicle safely, unbolt and remove the control arm, press the old bushings out with a press or control arm bushing tool, clean the bore, fit the new bushings as the installation guide describes, then reinstall the arm, torque every bolt to specification and finish with a wheel alignment.
Replacing control arm bushings at home is a very achievable job if you have the right tools and some patience. The hardest part is usually removing the old bushings, which can be stubborn after years in the arm. Here is how to replace control arm bushings step by step, the tools that make it easier, and how to fit our polyurethane control arm bushings so they run quiet and last.
Tools You Need for Control Arm Bushing Replacement
|
Tool |
What it is for |
|
Floor jack and jack stands |
Raising and securely supporting the vehicle |
|
Socket set, breaker bar and torque wrench |
Removing pivot bolts and tightening them to specification |
|
Control arm bushing tool or bushing press |
Pressing old bushings out and new ones in without damaging the arm |
|
Ball joint separator |
Freeing the ball joint from the knuckle where needed |
|
Penetrating oil |
Freeing seized pivot bolts and sleeves |
|
Wire brush or emery cloth |
Cleaning the bore before the new bushing goes in |
|
Specified grease |
Lubricating the new bushings as the installation guide describes |
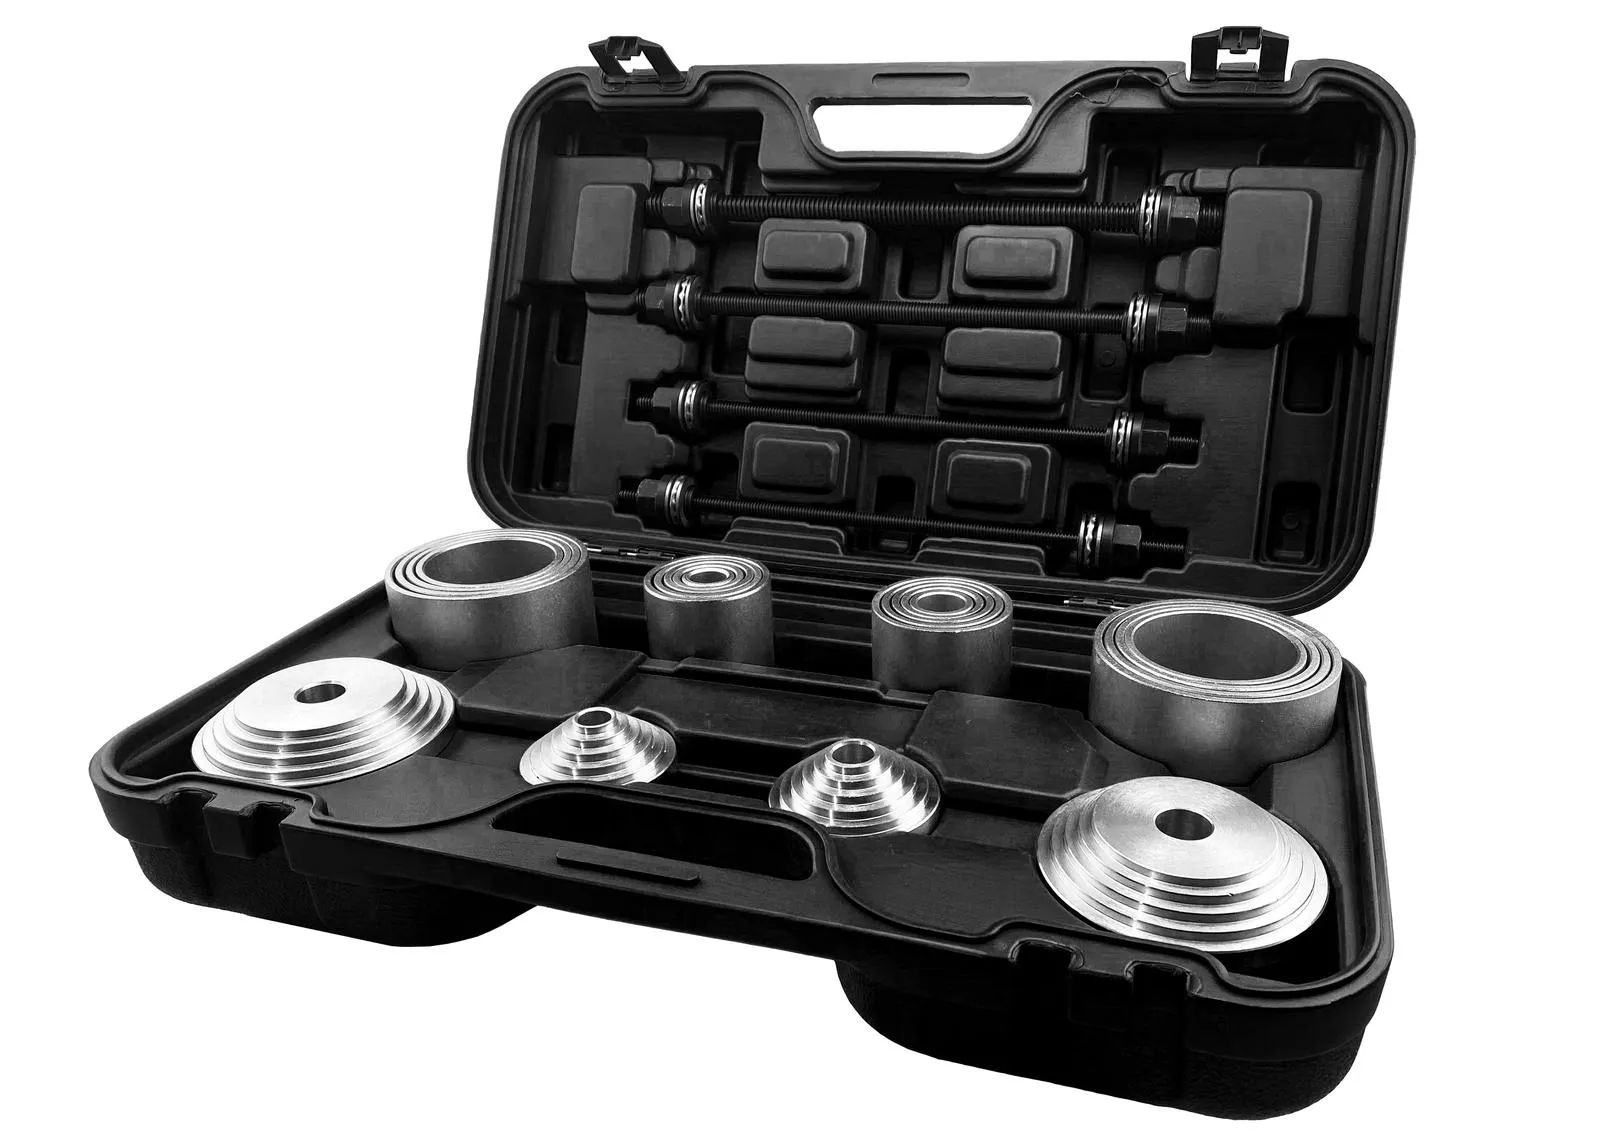
Nolathane Bushing and Bearing Press Tool Kit
Step 1: Remove the Control Arm
Raise the vehicle, support it on jack stands and remove the wheel. Spray the pivot bolts and ball joint nut with penetrating oil and give it time to work. Depending on your vehicle, you may need to disconnect the sway bar end link, the lower shock or strut mount and the ABS sensor wiring clip before the arm will come free.
Separate the ball joint from the knuckle, then remove the inner pivot bolts and lift the arm out. If the spring sits on the lower arm, support the arm with a jack and release it slowly, following your factory service manual, because spring tension is dangerous. Take a photo of how everything fits before you dismantle it.
Step 2: Press Out the Old Bushings
Mount the arm securely and use your control arm bushing tool or press to push the old bushing out of the bore. Select receiving cups and adapters that support the arm around the bore so it does not bend. Some bushings come out with steady pressure, while seized ones need more force and patience.
Avoid burning out rubber bushings with a torch. It creates toxic smoke, risks a fire and can damage the arm's metal. If the bushing has an outer steel shell that stays in the arm, press the shell out as well unless your replacement is designed as an insert for the existing shell.
Step 3: Clean the Bore and Fit the New Bushings
Clean the bore with a wire brush or emery cloth and remove any rust or old rubber residue. Inspect the arm for cracks, bends or elongated bolt holes, since a damaged arm needs replacing rather than rebushing.
Fit the new polyurethane bushings and sleeves in the order shown in our installation guide, applying the specified grease to the surfaces it lists. Correct lubrication is what keeps polyurethane bushings quiet for years. Press-in designs go in squarely with the press, while two-piece polyurethane bushings slide into each side of the bore by hand or with light pressure.
Step 4: Reinstall the Arm and Align the Wheels
Refit the arm, start every bolt by hand and reconnect the ball joint, shock, sway bar link and wiring. Where your factory service manual calls for tightening the pivot bolts with the suspension at normal ride height, raise the arm with a jack to that position before final torque. Tighten every fastener to the specification in your factory service manual.
Refit the wheel, lower the vehicle and road test it gently. Book a wheel alignment as soon as possible, because control arm bushing replacement almost always changes camber, caster or toe. Recheck the torque after the first few hundred miles.
Common Mistakes When Replacing Control Arm Bushings
- Skipping the alignment: New bushings shift the arm slightly, so tires can wear quickly without one.
- Installing polyurethane dry: Bushings fitted without the specified grease are prone to squeaking.
- Bending the arm in the press: Always support the arm close to the bore with the right cups.
- Doing one side only: Replacing both sides of the axle keeps the handling even.
- Ignoring the ball joint: If it is worn, replace it while the arm is already off.
Our range includes individual position kits, shell bushings and inserts, and complete vehicle kits. Install times range from under an hour for a single position or insert renewal to over six hours for a full vehicle master kit. If you are not sure which positions you need, our guide on how to check control arm bushings helps, and our breakdown of upper vs lower control arm bushings explains each position.
FAQs
Looking for more information about control arm bushing replacement? Below we answer the most commonly asked questions
Can I replace control arm bushings without a press?
How long does it take to replace control arm bushings?
Do I need to remove the control arm to replace the bushings?
Should I burn out old control arm bushings?
Do I need an alignment after replacing control arm bushings?
What grease should I use on polyurethane control arm bushings?
Make the job worth doing with bushings that last. Find polyurethane control arm bushings for your vehicle, with installation guides available for most products.


